Joomla
Install the CookieShift Joomla extension package, connect your site, and serve the consent banner on the frontend.
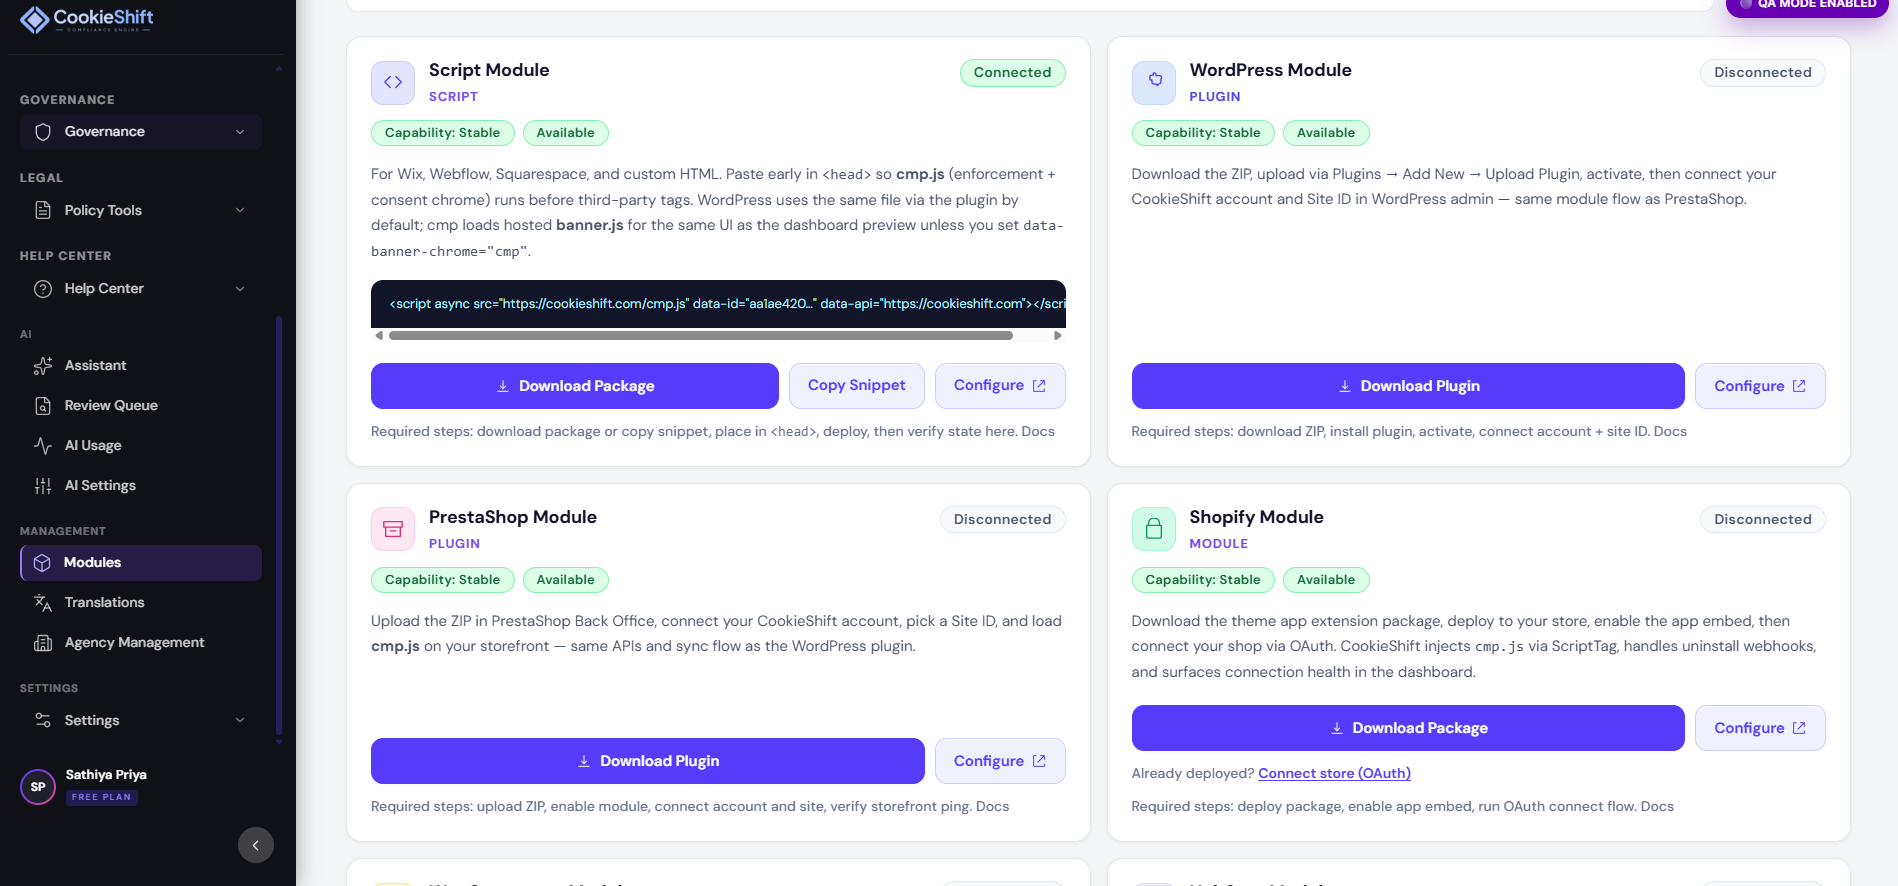
CookieShift’s Joomla extension package (system plugin, site module, and administrator component) connects your Joomla site to the CookieShift dashboard so you can manage cookie consent without editing templates manually.
Joomla cookie consent integration
CookieShift for Joomla provides:
- Cookie consent management — accept, reject, and customize choices on the public site
- Automatic cookie scanning — inventory crawls for cookies and trackers from extensions, templates, and embeds
- Cookie categorization — map discovered items to consent categories in CookieShift
- Consent blocking — prior-consent enforcement through
cmp.js(recommended) or legacybanner.js - Consent logging — view consent decisions in Components → CookieShift
- Google Consent Mode — configure Consent Mode v2 signals in CookieShift when you use Google tags
- GDPR / CCPA workflows — category controls, blocking, and consent records to support common privacy workflows (you remain responsible for legal configuration)
- Joomla-specific integration — a system plugin ensures the CMP loads on every frontend HTML page; the site module holds Site ID and connection settings; the admin component surfaces analytics and logs
CookieShift provides technical consent-management tools. You remain responsible for legal and privacy configuration.
Requirements
- A Joomla 3.10+ website (including Joomla 4 and 5)
- Joomla Administrator access with permission to install extensions and manage modules
- A CookieShift account and a property (Site ID) for this domain
- Outbound HTTPS to CookieShift (production:
cookieshift.com) - Permission to install extensions from the Joomla Extensions Directory or upload a package ZIP
Install CookieShift for Joomla
- Open the official CookieShift listing on the Joomla Extensions Directory.
- Download the CookieShift package ZIP (or download the same package from Modules in your CookieShift dashboard after sign-in).
- Log in to Joomla Administrator.
- Go to System → Install → Extensions.
- Choose Upload Package File and upload the CookieShift package.
- After installation, confirm the package enabled the CookieShift system plugin, CookieShift site module, and CookieShift administrator component.
- Open Content → Site Modules, find CookieShift, and enter your CookieShift Site ID from the dashboard.
- Set Enable CookieShift to Yes, choose CMP (cmp.js) as the script mode (recommended), and Publish the module. Only one published CookieShift module should be active.
- Open Components → CookieShift and click Connect CookieShift. Sign in to CookieShift and authorize this site. CookieShift stores the connection automatically—you do not paste an API token manually.
- In the CookieShift dashboard, open Consent Setup for this property and save your banner configuration.
- Open the public site in a private/incognito window and verify the CookieShift banner appears.
Joomla configuration
Site module (Content → Site Modules → CookieShift)
| Setting | Purpose |
|---|---|
| Enable CookieShift | Turn CMP injection on or off for the public site |
| CookieShift Site ID | Required. Property identifier from the CookieShift dashboard |
| CookieShift connection | Connect / reconnect to unlock administrator analytics and logs |
| Environment | Production (cookieshift.com) or custom embed origin |
| Script loading mode | CMP (cmp.js) — recommended; Banner only (banner.js) — legacy UI |
| Debug mode | Adds debug attributes on the script tag (disable on production) |
| Caching | Leave disabled; module cache can prevent head injection |
Administrator component (Components → CookieShift)
| Area | Use it for |
|---|---|
| Dashboard | Connection status, consent analytics, last scan summary, daily trends |
| Consent logs | Browse and inspect individual consent decisions |
| Site | Site ID, module publish state, and connection details |
| Connect / Reconnect / Disconnect | Authorize with CookieShift, refresh tokens, or stop local injection |
Banner design, categories, blocking rules, scanner schedules, and compliance settings are managed in the CookieShift dashboard, not only inside Joomla.
Configure consent
- Select your property in the CookieShift header.
- Open Consent Setup and customize appearance, copy, categories, and compliance options.
- Save changes—they apply to Joomla visitors through the published module and
cmp.js. - Run or schedule scans from Scanner to keep cookie inventory current after extension changes.
Verify installation
- Open the Joomla frontend in an incognito/private window.
- Confirm the CookieShift banner appears and accept / reject / customize controls work.
- After rejecting non-essential categories, verify marketing/analytics tags respect consent (use browser dev tools or tag assistant where applicable).
- In Joomla Administrator, open Components → CookieShift → Dashboard and confirm connection status is Connected and analytics update after test visits.
- Optionally review Consent logs for your test session.
Troubleshooting
| Issue | Try |
|---|---|
| Extension installed but banner does not appear | Confirm Site ID is set, Enable CookieShift is Yes, and the module is Published; save Consent Setup in CookieShift |
| Module published but still no banner | Ensure the CookieShift system plugin is enabled; clear Joomla / CDN / page cache; test in a private window |
| Components → CookieShift shows not connected | Click Connect CookieShift, sign in, and authorize; use Reconnect if the token expired |
| Connection error / incomplete connection | Start Connect CookieShift again promptly; verify outbound HTTPS to CookieShift |
| Banner not updating after dashboard edits | Save Consent Setup, wait a moment, clear site cache, hard-refresh the frontend |
| Consent blocking not working | Use CMP (cmp.js) script mode; confirm categories and blocking rules in CookieShift |
| Duplicate banners or scripts | Publish only one CookieShift site module |
| Translation / language mismatch | Configure banner languages in CookieShift Consent Setup and Translations |
| Scan shows no data | Confirm the site is publicly reachable; run a scan from CookieShift Scanner |
More: Troubleshooting, Modules, and Consent Setup.