Modules
Install CookieShift on any site with a script snippet, SDK, WordPress, Shopify, and more.
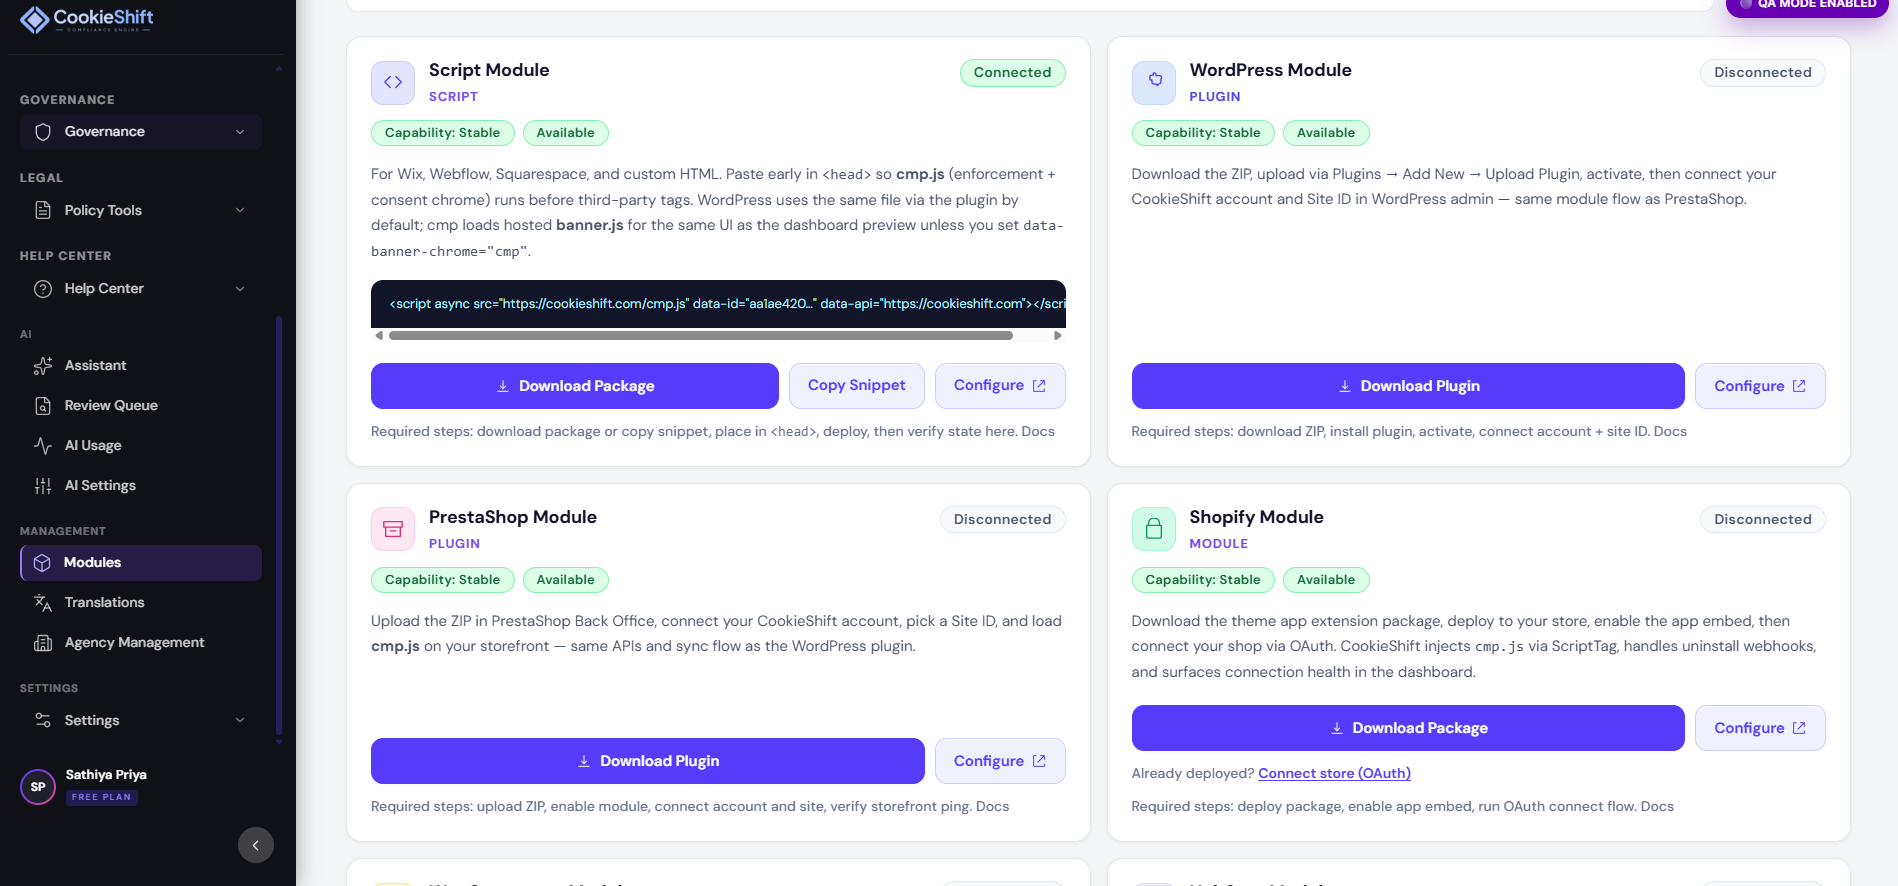
Integrations (dashboard route /modules; docs title “Modules”) is where you deploy CookieShift to your stack and confirm the connection is healthy. Implementation provides the same embed snippet with an install checklist.
Select a property first—snippets and status checks use that site’s ID.
Universal script install
The standard embed loads CookieShift’s consent management script on your pages:
- Copy the script tag shown for your property.
- Paste it in your HTML template before
</head>(or per your CMS’s “header scripts” area). - Deploy your site.
- Return to Modules and check connection status (connected vs waiting for first ping).
The snippet includes your unique data-id and API endpoint. You do not need to edit these values when updating banner design—only when moving to a new property.
React SDK
For React applications, install the package shown on the page and render the ConsentBanner component with your siteId. This wraps the same runtime as the script tag with framework-friendly props.
WordPress
Connect from the CookieShift WordPress plugin admin screen. After authorization, the plugin injects the consent script on your site automatically.
→ Step-by-step: WordPress module
Shopify
Click Connect Shopify to start OAuth. You’ll return to Modules with a success message when the store links. Ensure the shop domain matches the property you selected.
Setup and readiness status
Modules polls whether your site has checked in recently:
| Status | Meaning |
|---|---|
| Connected | Live site communicated with CookieShift |
| Pending | Setup was applied but first connection ping is still pending |
| Not configured | Setup not completed for this property yet |
Each module card also shows:
- Capability: Stable / Foundation / Limited
- Readiness: Production-ready now / Foundation-preview / Planned-enterprise
Use Refresh after deployments.
After install
- Open Consent Setup and save your banner.
- Run a Scanner crawl.
- Watch Dashboard consent trends once traffic arrives.
Configure banner
A shortcut opens Consent Setup for the active property—use it when you land on Modules during onboarding.
Related
- Getting Started — full onboarding path
- Consent Setup — visitor-facing UI
- Implementation — see Getting Started install section